Benefits of Building a Raised Garden Bed for Gardening Enthusiasts
Caring for plants is a form of art, and for many, time spent in the garden is a source of relaxation and tranquility. As an avid gardener, I understand the appeal of tending to plant. However, for those who do not share the same passion, the act of constantly bending down to reach the ground can take a toll on the knees and body over time.
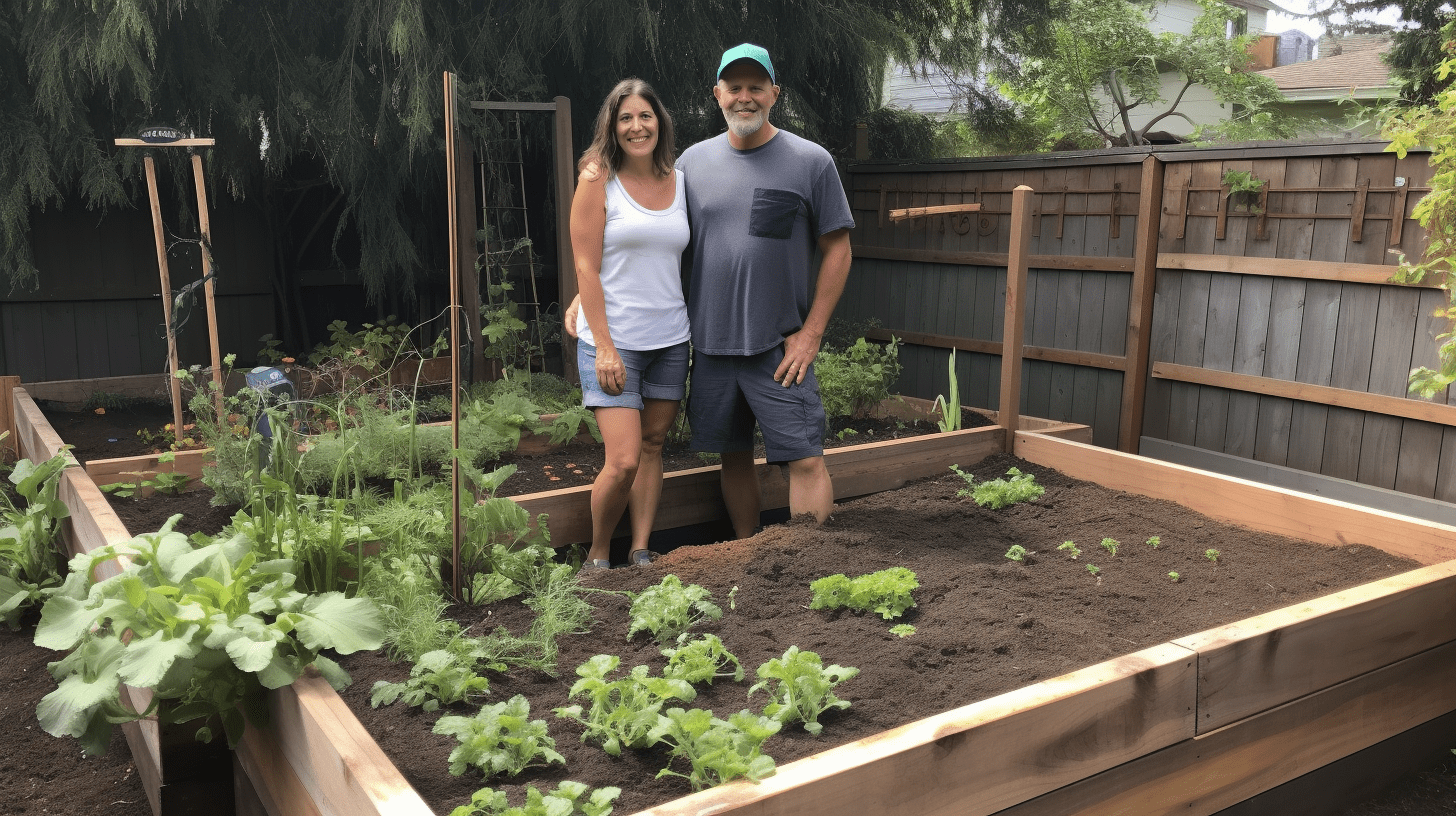
This is where building a raised garden bed can be of great benefit. By elevating the plants to half or full height, it significantly reduces the amount of bending required, making gardening a more comfortable experience.
In addition to physical comfort, raised garden beds also provide a cleaner and more organized look to the garden. A well-constructed raised bed can add structure and form to an otherwise unorganized area, even in unconventional locations such as a rooftop garden. Overall, building a raised garden bed is a great way to enhance the beauty and functionality of your garden while also providing a more comfortable gardening experience.
How to Build a Raised Garden Bed Myself: A Comprehensive Guide
Building a high bed is a great way to improve your garden and make it more functional. However, there are a few important things to consider when building one. In this article, we’ll cover the basics of what a high bed is and what you need to know before you start building.
What a High Bed is Made of?
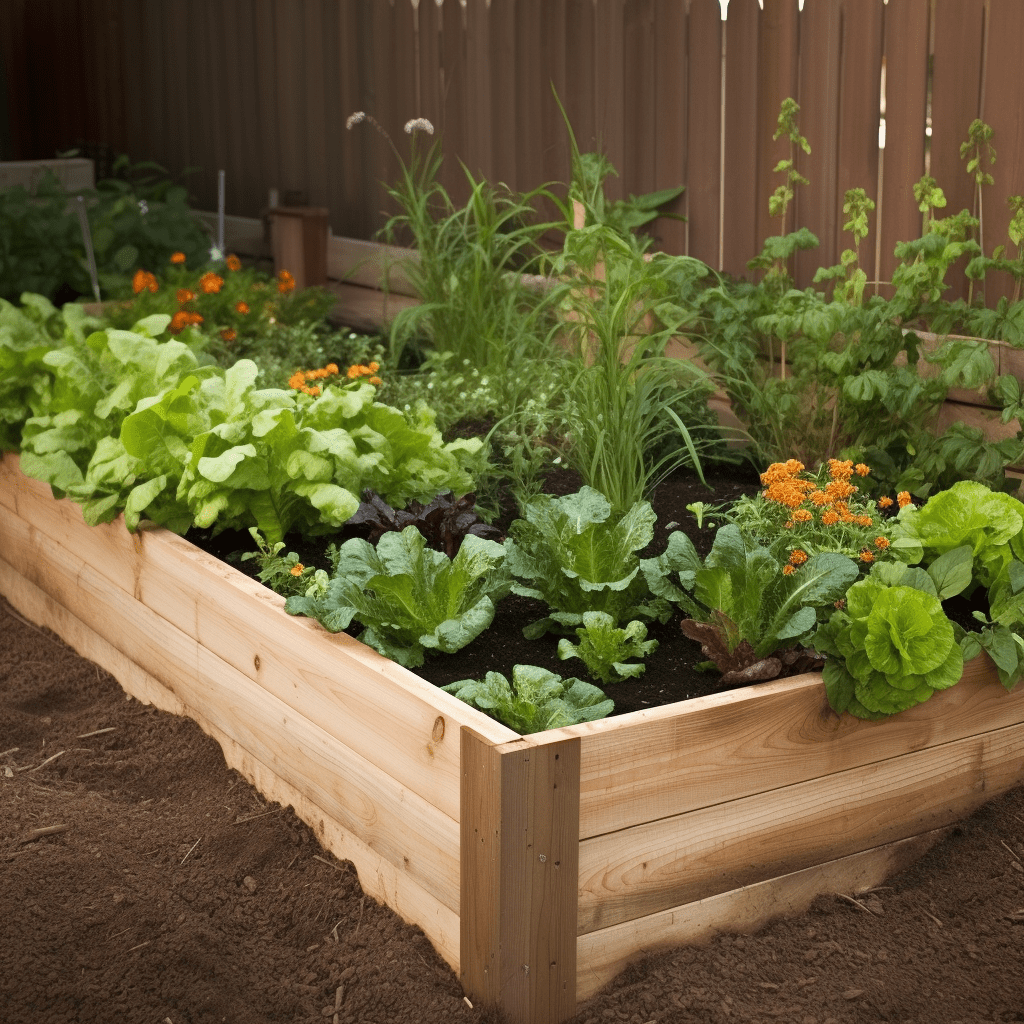
The basic components of a high bed are pretty straightforward: a box (usually made of wood), filled with soil, and legs at the bottom. However, there are a few variations on this design that you may want to consider. For example, you can build a high bed without legs by pouring soil into a box that sits directly on the ground. Alternatively, you can use stones instead of wood to construct the box.
Key Considerations for Building a Raised Garden Bed
One of the most important things to consider when building a high bed is how to prevent the wood from rotting. Moist soil can cause wood to decay over time, so you’ll need to create a barrier between the wood and the soil. One common solution is to use a pond liner or similar material to line the sides of the box.
You’ll also need to protect the bottom of the box from moisture while allowing for drainage and air circulation. To do this, you can use a garden fabric on the bottom and treat the wood with a protective coating.
If you plan to place your high bed in your garden, you may also want to consider adding a wire mesh to protect it from burrowing rodents like moles.
Step-by-Step Guide: Building Your Raised Garden Bed
A raised garden bed is an excellent solution for growing plants and vegetables in areas with limited space, poor soil quality, or for those who have difficulty with bending or kneeling. Whether you’re an experienced gardener or a beginner, building your own raised garden bed can be a fulfilling project.
Follow this step-by-step guide to get started and create a beautiful garden bed to call your own. And if you need more detailed guidance, there are many resources available online or at your local gardening store.
- Consider the size and location of your raised bed. Will it be against a wall or fence, or in an open area? What is the optimal size for your garden bed? Keep in mind that larger beds will require more soil and will be heavier.
- Choose the right materials. You can use wood, metal, or stone for the sides of your bed. Make sure the materials you choose are durable and weather-resistant.
- Plan your soil mix. You’ll need a good soil mix that is well-draining and nutrient-rich. Consider using a combination of garden soil, compost, and other organic matter.
- Add irrigation. Consider adding an irrigation system to your raised bed to ensure your plants get enough water. You can use a drip system, soaker hose, or even a simple watering can.
- Plant your garden. Once your bed is built, filled with soil, and irrigated, it’s time to start planting. Choose plants that are well-suited to your climate and soil conditions. Consider companion planting to maximize your garden’s productivity.
- Maintain your garden. Keep your garden bed weed-free and watered. Consider adding a layer of mulch to help retain moisture and keep weeds at bay. Regularly fertilize your plants with a balanced fertilizer to keep them healthy and productive.
By following these steps, you’ll be able to build a beautiful and productive raised garden bed. Enjoy the process and the rewards of growing your own food and flowers!
Tips for Building a Raised Garden Bed on a Budget
If you’re looking to build a high bed on a budget, self-building is typically the most cost-effective option. You can find all the materials you need at your local hardware store, and there are often kits available as well. However, keep in mind that the cheapest kits may not offer the best quality, so it’s worth investing in a higher-end kit or building your own with quality materials.
How to Fill Your Raised Garden Bed: Tips from a Gardening Expert
One of the most important steps in building a raised garden bed is filling it with the right materials. Here are some tips to ensure your garden bed has the best start for healthy plants.
How to Fill Your Raised Garden Bed
It’s best to fill your garden bed in the fall before the next season. Follow these simple steps:
Top Layer: Potting Soil
Middle Layer: Garden Soil
Bottom Layers: Green Waste and Prunings.
The decomposition of the organic matter produces nutrient-rich humus, which creates a warm environment for healthy plant growth. This allows you to plant heavy feeders like tomatoes, zucchinis, cucumbers, leeks, and cabbages in the first year.
Is it Possible to Fill a Raised Bed Garden with Soil Only?
Yes, you can, but it’s not recommended. The goal of a raised garden bed is to provide your plants with nutrients for as long as possible. If you only fill it with nutrient-rich potting soil, it won’t last as long. A mix of branches, leaves, compost, and soil lasts about five years. The composting of the lower layers provides long-lasting nutrients, and the humus also creates a warmer environment for seed germination. Once it starts to sink, refill it with potting soil. After five to six years, you should start fresh and refill the entire bed.
How to Layer the Filling in Your Raised Bed Garden?
Layering your garden bed is easy. Start with the loose and fresh stuff at the bottom (branches, leaves), then add the planting layer (compost and soil). Here’s a breakdown from top to bottom:
Top Layer: Potting Soil Middle Layer: Garden Soil Lower Layers: Compost and Fine Cuttings, Prunings, Roots, and Chippings Bottom Layers: Branches and Roots.
If you are considering using fir branches in your raised garden bed, it’s important to be aware that they can potentially acidify the soil. While some gardeners suggest that the acidification is not significant when the branches are mixed with soil, others recommend adding a small amount of lime to the soil to neutralize the acidity.
When using pure branches of fir, it’s advisable to add lime to the soil. Adding lime can also be helpful when using pine needles or other materials that might cause acidity. However, it’s important to test the pH levels of your soil first and only add lime if necessary, as adding too much lime can lead to other problems.
What Branches Can be Used for a Raised Bed Garden? Which Ones Should be Avoided?
Generally, all branches and cuttings are fine, as long as they’re not too big. Tree trimmings and rough cuttings are okay, but large, bulky branches can cause the bed to sink. It’s best to chop them into smaller pieces and pack them tightly.
What Type of Prunings are Suitable for a Raised Bed Garden?
The coarser cuttings should be placed at the bottom of the bed to aid in good aeration. Add finer cuttings and top with a layer of leaves to prevent the planting soil from sinking too fast.
Can Pine Needles be Used in a Raised Bed Garden?
Yes, you can. Although some argue that pine needles and cones make the mulch too acidic, it’s not a problem if it’s in the mix. If you’re using only pine needles, you may need to add some lime to balance the pH levels.
When is the Best Time to Fill Your Raised Garden Bed?
While fall is the best time to fill a raised bed garden since there’s an abundance of fallen leaves and garden debris, you can fill it up any time of the year. Don’t let the season deter you from starting your garden when you’re in the mood for it!
Pros and Cons of Raised Garden Beds
Advantages:
- Raised beds provide a warmer environment for plants to grow in, leading to faster germination and growth.
- Raised beds help to prevent burrowing pests from accessing plant roots.
- The raised edges of a bed can provide some protection against slugs and snails.
- Higher yields due to the warmer soil.
Disadvantages:
- Raised beds require some initial investment in materials or purchasing a pre-made kit.
- Raised beds can be more expensive than a traditional garden plot.
- Soil should be completely changed every 5-6 years.
So, go ahead and have fun building your raised bed garden!
Wrap up!
I hope this guide has given you the confidence to start building your own raised garden bed. With the benefits of raised bed gardening and the step-by-step process laid out, you’re on your way to enjoying a bountiful harvest. And don’t stop there!
Remember to consider key factors before building your raised garden bed, follow the step-by-step guide, and explore the pros and cons of raised garden beds. Once you have mastered the art of building a raised garden bed, you may also want to explore other exciting gardening techniques such as hydroculture or hydroponics. Check out our articles on these topics to learn more about the best methods for your gardening needs. Happy gardening!


1 comment